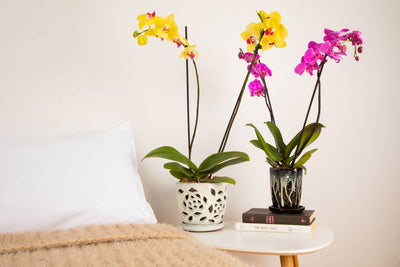
Orchids
 Succulents
 Houseplants
 Care
Care


Christmas Cactus Care: What Soil and Pot Should I Use?
How to Repot Your Christmas Cactus
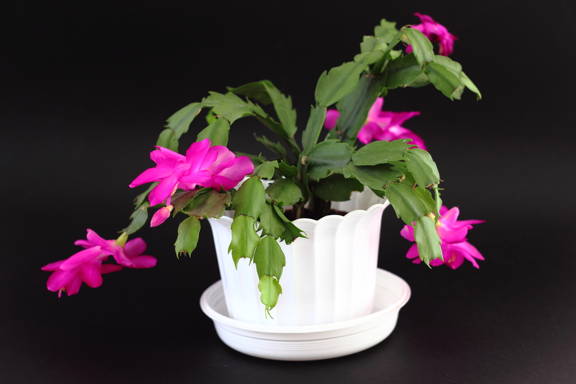
Christmas Cactus
This epic epiphyte from Brazil brings the family together to witness a small miracle as the Christmas Cactus buds off more of themself. Each member of the family may have their own Christmas Cactus that has a common parent back at the nest. The nest may empty, but the Christmas Cactus lets everyone keep a small piece of home anywhere they may venture to!
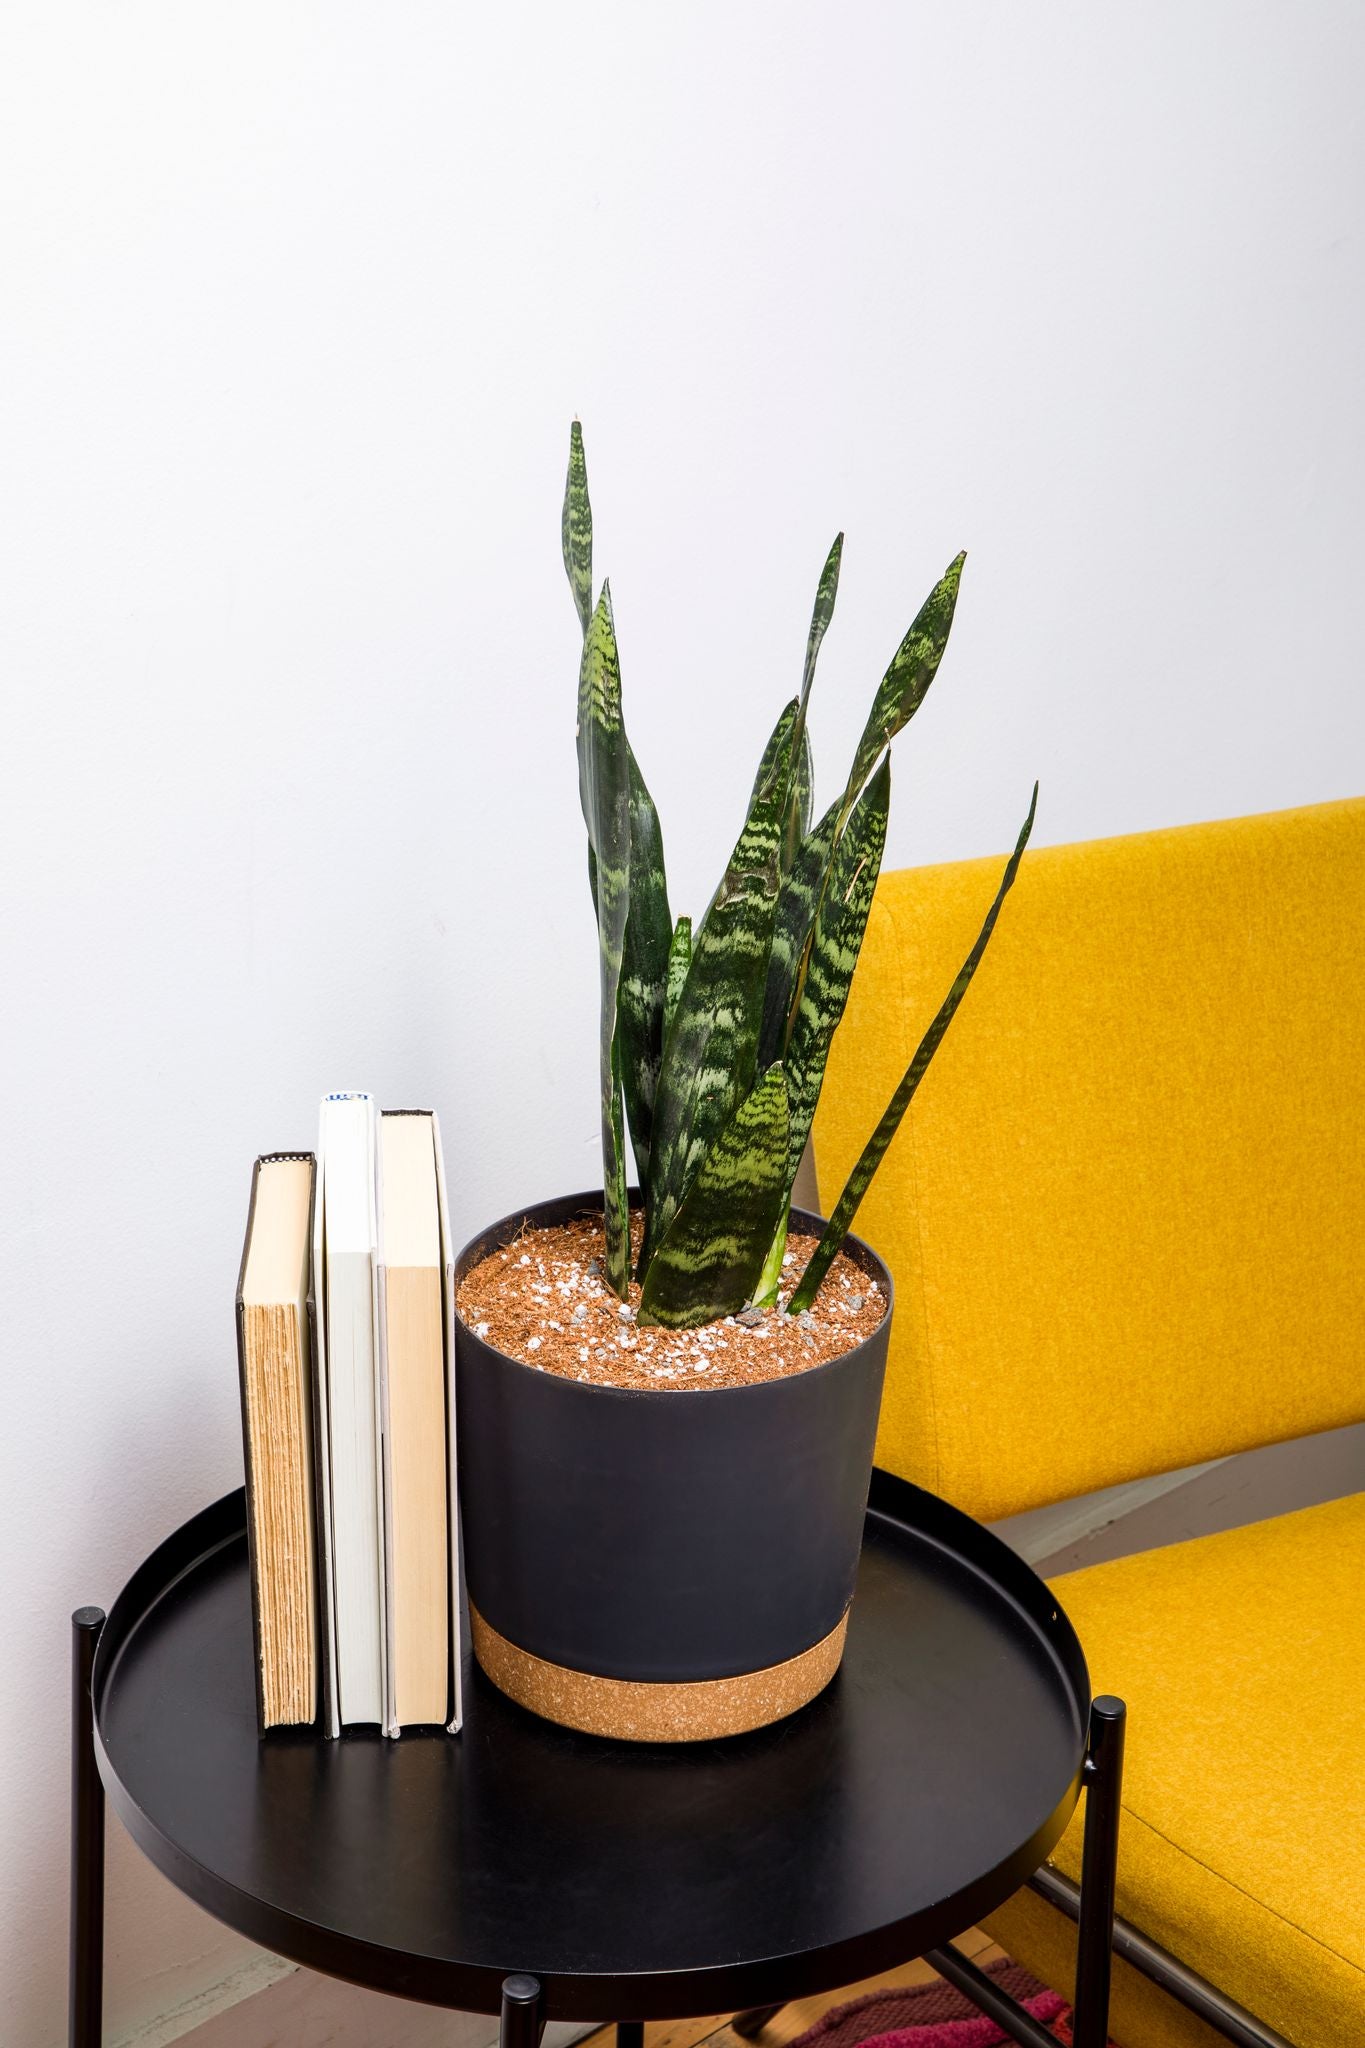
If you're working with your own pot, it's ideal if you have one with side ventilation. If you don't have one on hand, be sure that there is even bottom drainage, as this is crucial. The drainage holes should be inspected for any obstruction, such as incomplete hole punches, prior to pouring the soil in. The generic plastic pots plants come in at the store are especially problematic, and sometimes have no drainage at all.
If you don't have a cozy crib for your Christmas Cactus on hand, we humbly offer our very own rePotme Slot Pot! Having come a long way from their home country of Brazil, you Cactus deserves the best to feel right at home! While our Slot Pots are made with a beautiful high-quality plastic that is lustrous, nonporous, and comes in a wide variety of lovely sizes and colors, some folks still prefer ceramics. Since many ceramics have inadequate airflow, we added Slot Pot inserts to our line of Ceramic pots to get all of the benefits of our patented radial-slot system without any compromises!
A plant's pot plays an essential role in keeping them in a happy homeostasis. A good pot with generous drainage and airflow is like having been planted outside. In the wild, plants' roots get as much oxygen as they can absorb and water stagnation is uncommon.
By having plenty of fresh air exchange (often abbreviated F.A.E.) as well as complete and even bottom drainage, the soil can more easily hold water without it growing anaerobes. Anaerobes help us in day-to-day life in many ways that we don't always see. They raise our bread, they brew our alcohol, they yield our kombucha, and they even make some of our flavorings and medicines! Unfortunately, sometimes anaerobes don't fit in terribly well, and this is the case with potted plants. The acids and alcohols excreted by anaerobes are irritating to a plant's roots, and in extreme cases can kill the roots, cause Root-Rot, and ultimately un-alive the plant. When it comes to healthy roots, oxygen is paramount!
Plants don’t like to sit in their soil for very many seasons, but they last a fair amount of time between soil changes. Sometimes they'll even outgrow their pot before the soil gets used up! Signs of outgrowing a pot are if a plant is raising itself up out of the pot, and if roots are sneaking out their pot's drainage holes. When upgrading a plant to a roomier pot, a good rule of thumb is to use a pot with walls that are roughly 2 inches from the roots all the way around and underneath. If there is too much of a gap, the soil may get colonized with too many microbes before the roots can get to them. Although the root secretions become toxic to the roots if they accumulate for too long, in moderation they help to limit how much competing life can occupy the soil alongside the roots. Most microbes and fungi also have waste-based immunity!
If the decision to repot has been made, let's go over how to go about it. Go ahead and get out your Portable Potting Bench or other suitable catching container for the soil and let’s get started! If your Cactus is actively blooming, it's best to delay the repotting after they have finished to avoid stressing them.
Step 1: Get Your Soil, Pot, and Fertilizer Ready
The first step is to prepare your workstation. Pick out a place with access to running water and lay out your catch container, Replacement soil (see our cactus and succulent potting soils) fertilizer (such as our FEED ME! Cactus and Succulent Food) a soft cotton fabric such as a shirt, bedsheet, or pillowcase, and of course your Christmas Cactus. Cotton is excellent for handling and cleaning plants because it's not abrasive to them. Once everything is in one place, give the soil a good even rinse, then we may begin.
Step 2: Pull Out Your Cactus Gently
Gently turn your Christmas Cactus on their side so that the stems and flowers are on the soft cotton and the pot is in the catch container. Flex the container slightly so that the old soil can loosen, but not so much that it breaks roots. With careful, even pulling, slowly slide the pot off your plant to expose the soil and roots.
Step 3: Replace Old Soil With Fresh New Mix
As the old adage goes; out with the old, in with the new! With clean hands, carefully manipulate the roots until as much of the old soil as possible is removed. Old soil that has accumulated many months of root secretions can become toxic to the roots. Gently rinse the roots to try to get the last few bits of old soil off.
Once you have your Cactus nice and clean, position their new pot under their roots, and slowly lower them in. Next, take your replacement soil (such as our fresh-made Cactus and Succulent Mix) and gradually pour it in around your plant's roots while holding them upright in the pot. Now the Cacti's in the cradle!
Step 4: Water and Fertilize
You did great! Now feeding and watering can continue as normal.
We carry sleek and stylish watering cans in painted and unpainted stainless steel, and plastic with a removable rosehead for the spout. Both watering cans have a straight spout to get access to the bases to plants no matter how dense the vegetation is!
We also carry our FEED ME! Cactus and Succulent Food to keep your Christmas Cactus fed and happy, and the instructions are easy to follow! Because our Cactus and Succulent Mix uses Coconut Coir, it is both great at absorbing fertilizer AND resisting pests, and also helps to protect plants from fertilizer burn! We always use the most premium ingredients because our beloved plants deserve the most premium of care!
More Christmas Cactus Tips
While we're on the subject of repotting Christmas Cactus, this is a good time to go over their reproduction. With just one Cactus, you can grow more to gift to the special someone in your life! While you don't necessarily have to keep them for generations, Christmas Cacti are capable of an extraordinary longevity!
Select a length of 3 or 4 sections, then carefully disconnect it from the parent Cactus using a sanitary cutting tool such as our Disposable Scalpel. Don't forget to put the cap back on and store it in a safe place, or dispose in an appropriate sharps container. Allow the removed length of Cactus to sit in a cool, dry place for a day, then plant one section deep into a small pot of new soil. Water sparingly until roots are established before watering as normal.
It's that time of the year; you are sitting down with friends and family for a succulent Christmas dinner, but there is something unusual in the room. There are flowers, and they are real. Flowering in December is unlikely for most plants, but not Christmas Cacti! When your loved ones get together, your Christmas Cactus joins you for the festivities!
Liked what you've read? We have many more plant care articles to check out, and we are always happy to have you over! If you have any feedback or unanswered questions, our team is always friendly and happy to help! If you are in need of supplies, we have our own fertilizer formulas, fresh-made to-order soils and media, pots, and more! Happy planting!